Migrating a Wordpress Blog to Webflow: choosing the right method and the right budget


Moving a Wordpress blog to Webflow's sleek and powerful platform can be a game-changer. However, the migration process itself can seem daunting. Worry not, Webflow content creators and designers, there is a method for everyone!
This guide will explore the different methods available to export a Wordpress blog to Webflow CMS, their pros and cons, and which one best suits your specific needs.
1. Migrating a Wordpress blog to Webflow for free: the manual migration for maximum control, minimal cost
This is in a sense the easiest and oldest method. Copy and paste… I guess not much can go wrong, except that it could take up a lot of time, and pasting can be prone to human errors.
There could also be some hiccups with HTML text and images, but we will talk about these later.

The pros of a manual migration:

- Free: No additional tools or services needed.
- Complete control: You handle every aspect of the migration, from content selection to design recreation.
- Immediate check: You can visualize every new blog page in Webflow as and when you create them. You are also aware if anything goes wrong when pasting data.
The cons of a manual migration:

- Extremely time-consuming: Manually copying and recreating content can take hours, even for small blogs.
- Prone to errors: Manual data entry increases the risk of mistakes and inconsistencies.
How it works:

- Log into your Wordpress account: navigate to your Posts section, and get ready to copy and paste.
- Prepare your Webflow site: create your CMS collections to match what you are exporting: blog posts, authors, tags, categories, etc. For your blog post, we recommend using a Rich Text field for your main blog content.
- Copy and paste: you can then simply copy and paste from your Wordpress window to your Webflow window.
Tips

- For images: you will need to copy them in a public location to then fetch them in Webflow. Webflow will store this image on their server.
- For HTML: Use a rich text field in Webflow - it should provide well for basic HTML - paragraphs, headings, lists, images, etc. If you need other elements or unusual constructions you need to do an HTML embed.
Best for:

Tiny blogs! If your Wordpress blog has a handful of posts, and you are exporting to a limited number of Webflow CMS fields on the other side, manual migration can be manageable and cost-effective.
2. Migrating a Wordpress blog to Webflow with Webflow's native CSV Import function: a simple, free solution for basic needs
The Webflow CSV import capabality is worth exploring if your blog is simple in formatting. It is free to use, and Webflow will guide you through the setup process when importing your CSV file.

The pros of using the Webflow CSV import:

- Easy to use: Webflow offers a built-in tool to import content directly from a CSV file.
- Best for basic migration: Suitable for transferring basic data like post titles, content, and tags.
The cons of using the Webflow CSV import:

- Limited functionality: Cannot migrate complex content formats, images, or custom fields. For a Wordpress blog migration, it is likely to bring some issues with images transfer.
- Requires CSV preparation: Exporting data from Wordpress and formatting it as a compatible CSV file adds an extra step. There are free plugins such as WP All export to export Wordpress data to a CSV file, so no additional cost are required for this step.
- Time-consuming for larger websites: As the number of posts increases, so does the time needed for CSV manipulation. We recently had a client who migrated 7,000 blogs, and spent a few hours tidying up and cleaning the CSV file.
Our tips:

Trial it first: Use this method with a small sample of content before committing to a larger migration.
Images:
- Images need to be hosted somewhere public, and then you use the URL in the CSV. Webflow will import that image and then store it on their server.
- Webflow may miss some images, for example when a file name is problematic ( e.g. > 100 characters ) or the file is too large ( > 4 MB ), or in an unsupported format.
Content:
- Webflow will convert HTML to its own rich-text format.
- Most things will migrate fine, but some things may be problematic - tables, any dynamic charts, code excerpts.
How it works:

- Export content from Wordpress: Use a plugin like "WP All Export" to download your posts, featured images, authors, categories, tags as a CSV file.
- Format the CSV file: Ensure the CSV file adheres to Webflow's specific format requirements for titles, content, and other supported data points.
- Import the CSV into Webflow: Navigate to the Webflow CMS and use the built-in import tool to upload your formatted CSV file.
- Review and edit: Webflow will attempt to create new CMS items based on the CSV data. You may need to review and manually edit the imported content for accuracy.
Exporting a Wordpress blog to Webflow using the Webflow CSV import is best for simple blogs:

If your blog primarily consists of text-based posts with minimal formatting, the CSV import can be a quick and free solution.
3. Migrating a Wordpress blog to Webflow with PowerImporter, an external migration app: streamline the process and save time
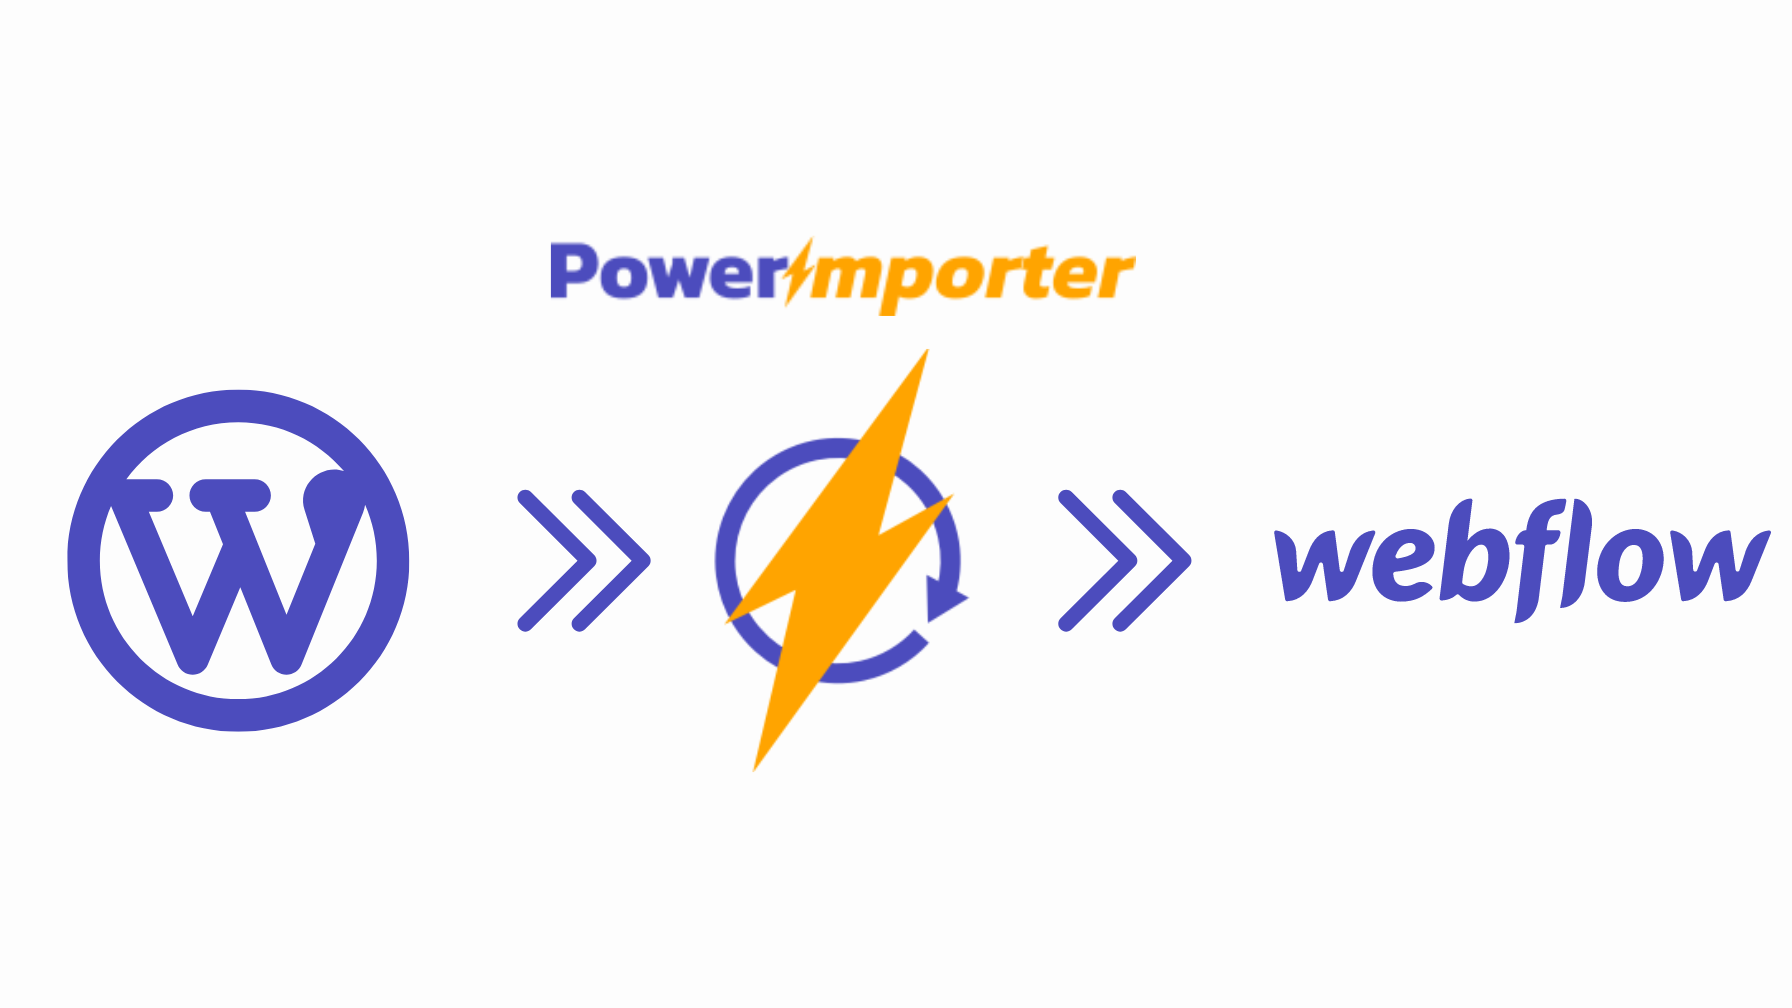
For the highest level of peace of mind, an external migration app such as PowerImporter will support you all the way during your migration.

The pros of using PowerImporter to transfer a Wordpress blog to Webflow:

- Efficient and time-saving: Automate the migration process, freeing up your time for other tasks.
- Handles complex content: Migrate posts, images, and content formatting with ease.
- Error logs: a detailed log of the transfer will be available, showing if nay items / fields have not been successful when transferring.
- Reduced risk of errors: Automated migration minimizes the chance of human error during data transfer
The cons of using PowerImporter to transfer a Wordpress blog to Webflow:

- Cost involved: Requires a PowerImporter plan
- Less control: Compared to manual migration, you relinquish some control over the process.
How it works:

- Connect your Webflow site in PowerImporter
- Export your Wordpress data using WP All Export
- Upload your export file in PowerImporter and configure the migration: Choose the content types you want to migrate and map them to the corresponding fields in Webflow's CMS.
- Test your migration in PowerImporter: one of the major benefits of using PowerImporter is the test & review capability: you can run your migration without actually calling the Webflow API. This enables you to spot errors and issues without exporting your data to your Webflow site.You can then go back to your data and export file if necessary.
- Run the migration: Once the configuration is complete, initiate the migration process. PowerImporter will securely transfer your selected content from Wordpress to Webflow.
- Review and publish: After the migration is finished, review the import logs in PowerImporter to spot any issues, or missed content. You can then publish your migrated content and make your new Webflow website live.
Exporting a Wordpress blog to Webflow using PowerImporter is best for:

- Websites of any size: PowerImporter is ideal for migrating blogs of all sizes, from small personal blogs to large content-heavy websites.
- Websites with more complex content formats such as tables, charts.
- Those seeking efficiency: If your time is valuable and you want a smooth, error-free migration, an external app is the way to go.
- Those seeking personal support: the PowerImporter customer service team will answer questions and help with any issues encountered.
Check out the PowerImporter price plans, and the step-by-step guidance on how to create your Wordpress to Webflow migration in PowerImporter.
4. Other solutions to transfer Wordpress to Webflow

Interestingly, there are no known Wordpress plugins capable of directly migrating content to Webflow. While plugins exist for general data migration or backups, they don't offer the specific functionality needed for a seamless Wordpress to Webflow transition.
Conclusion

Choosing the right method for your Wordpress to Webflow export depends on your individual needs, technical expertise, and budget. By understanding the advantages and limitations of each approach, you can make an informed decision and ensure a smooth and successful transition for your content.


