How to properly link CMS Content to collection pages in Webflow


Many users miss the crucial step of using the “purple dot” to connect dynamic data. This guide will help you navigate the process of linking CMS content to collection pages in Webflow, ensuring your site remains dynamic and up-to-date.
How to properly link CMS Content to collection pages in Webflow
Here is a step-by-step guide you can follow:
Step 1: Access Your Collection List in Webflow
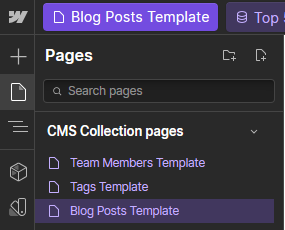
Open your Webflow project and navigate to the CMS Collection Page where you want to display your CMS content.

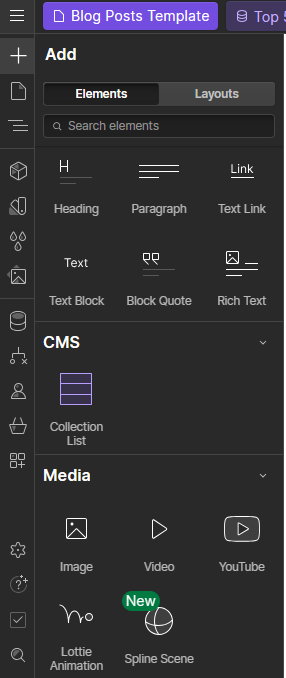
Click on the “+” icon (Add Element) in the left toolbar.
Drag a content type onto your page, such as a paragraph, or an image, which will serve as a container for your CMS content.

Step 2: Connect Your Collection
Select the Collection List and choose the desired collection from the dropdown menu that appears.
You’ll see the Collection List populate with items from the selected collection.

Step 3: Bind Data with the Purple Dot
Select an element within the Collection Item (e.g., a text block or image).
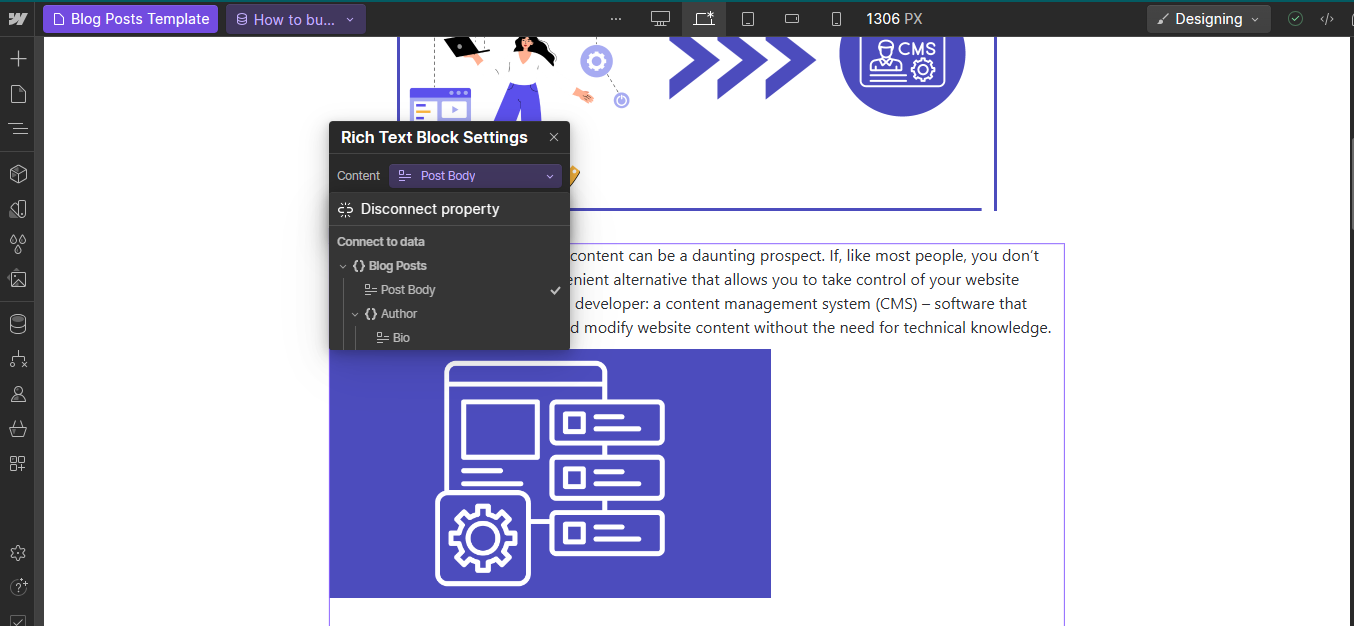
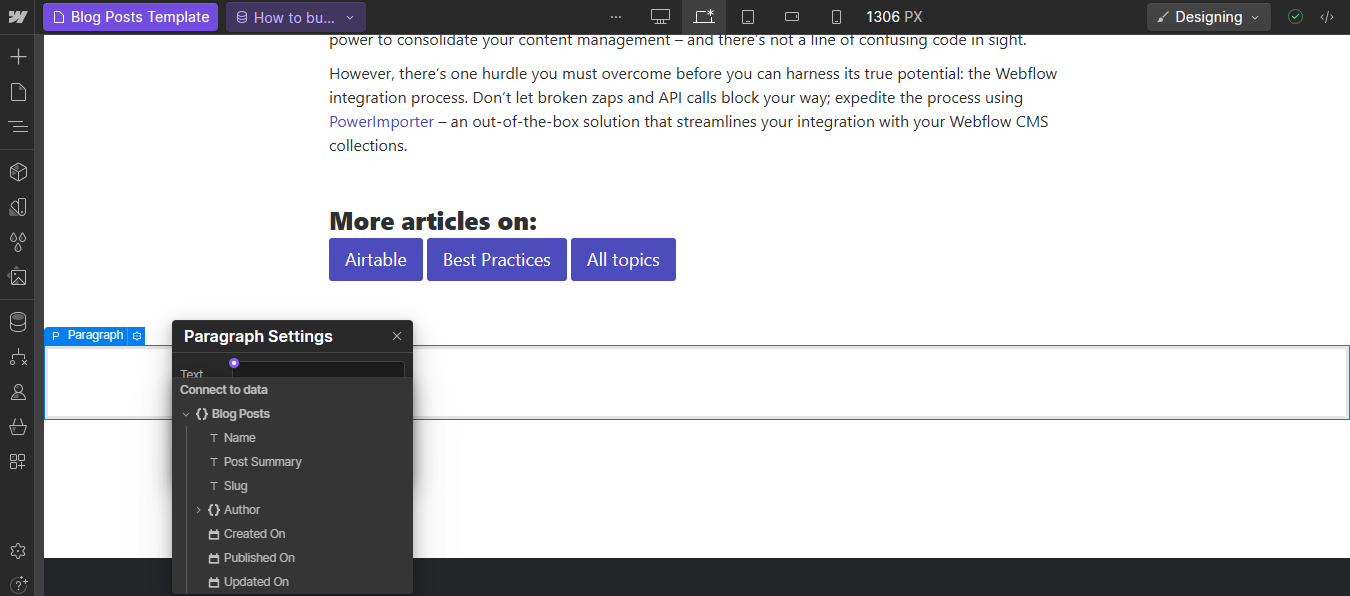
Click on the “purple dot” next to the property you want to bind (e.g., text content or image source).
Choose the corresponding CMS field (e.g., Name, Image).

Step 4: Customize Content Display
Style your elements to fit your design requirements by adjusting padding, margin, and other CSS properties.
Preview your site to ensure everything displays correctly.
Common Mistakes and How to Avoid Them
- Not selecting the right collection: Make sure you select the correct collection to avoid displaying irrelevant content.
- Forgetting to bind field or not seeing the purple dots: Use the purple dot to bind all necessary fields to ensure data is displayed dynamically.
- Incorrect field type: Verify that the field type matches the data you’re trying to display (e.g., text for a text block, image for an image block).
Conclusion
Linking CMS content to collection pages in Webflow may seem daunting at first, but by following these steps, you can create dynamic and engaging websites. The key is to use the purple dot to bind your data correctly and customize your content display to fit your design needs.
Additional Resources
Webflow University: CMS Collections
Webflow Forum Discussion on CMS Linking


