How to export your Wordpress data before using PowerImporter
View the video tutorial:
STEP 1 DOWNLOAD THE FREE WP ALL EXPORT PLUGIN
https://en-gb.wordpress.org/plugins/wp-all-export
STEP 2 CREATE A NEW EXPORT IN THE WP ALL EXPORT PLUGIN
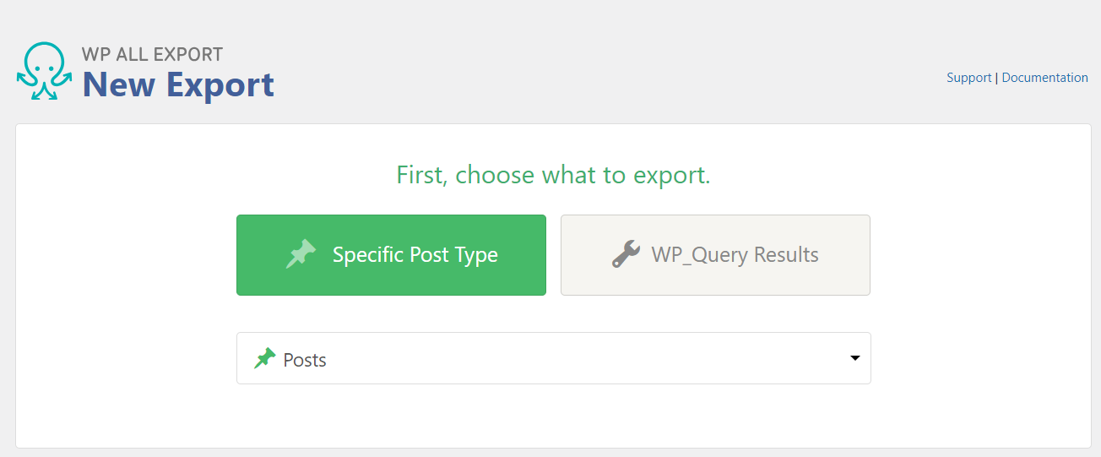
Once your plugin is installed, in All Export in your menu, click on "New Export"

STEP 3 SELECT POSTS
In "Specific Post Type", select "Posts" (as this is whatPowerImporter will be migrating).

STEP 4 CUSTOMISE EXPORT FILE
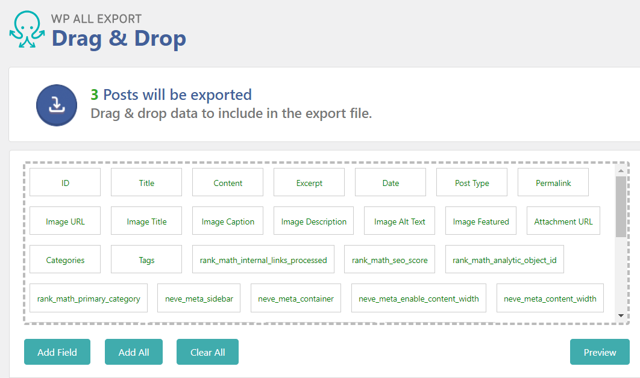
Click on "Customise Export file"

Then click on "Add All" (this is recommended so you are sure yourfile won't be missing any fields)

STEP 5: CHOOSE YOUR EXPORT TYPE
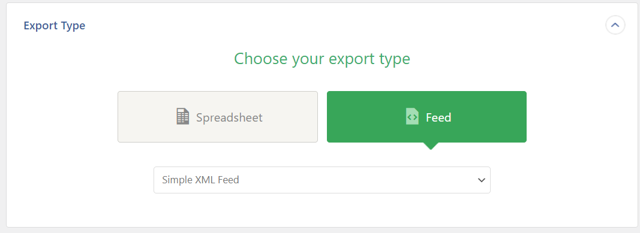
Click on Feed > Simple XML Feed

STEP 6 : CONFIRM AND RUN EXPORT
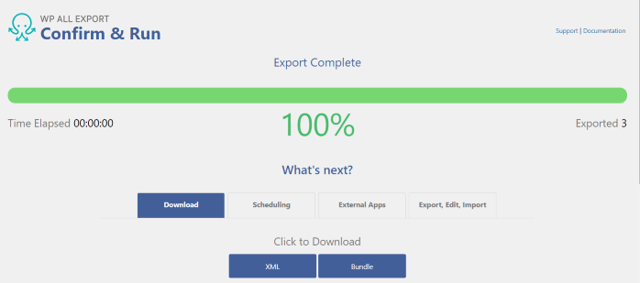
Click on "Confirm and Run Export"

STEP 7 : DOWLOAD YOUR FILE
Click on the XML button to download onto your computer.

STEP 8 : UPLOAD YOUR FILE IN POWERIMPORTER
In PowerImporter, step 2, upload your XML file.
See detailed instructions here.
Check out how to create reference fields for categories, authors & tags when migrating from WordPress to Webflow
check it out